

The foundation finished with the firebricks being layed and a cross-section of our foundation.
2) Making a Sand Mold
To make a sand mold we used the plaster sand that we bought to use in the mixes for the oven. This sand was already moist, so it was easy to pile up and make a stable mold, but water may need to be added if it is dry. This mold is going to need to be the same size as the interior of your oven. Our oven was 27 inches in diameter, so we needed to have a mold that was 14-18 inches tall. Our mold wound up being 16 and 1/4 inches tall. The sides of this mold should be fairly steep and as wide as the firebrick oven floor. Once we completed the sand mold we covered it with a plastic trash bag.

Here is our finished sand mold, ready for the plastic bag to cover it.
3) The Dense Layer:
For our dense layer we used approximately a 2:1 sand/clay ratio, but we had to add a little more sand until the right consistency was found. The reason we had to add more sand was because the clay we were using was extremely wet (we got it out of a trough filled with water and clay). For this layer the material needs to hold its shape well when balled up and should feel gritty and crunchy when squeezed. This layer was then applied about hand width thick (3-4 inches) around our sand mold with the plastic bag covering it. This material is applied from the bottom up, until the top of the mold is covered.
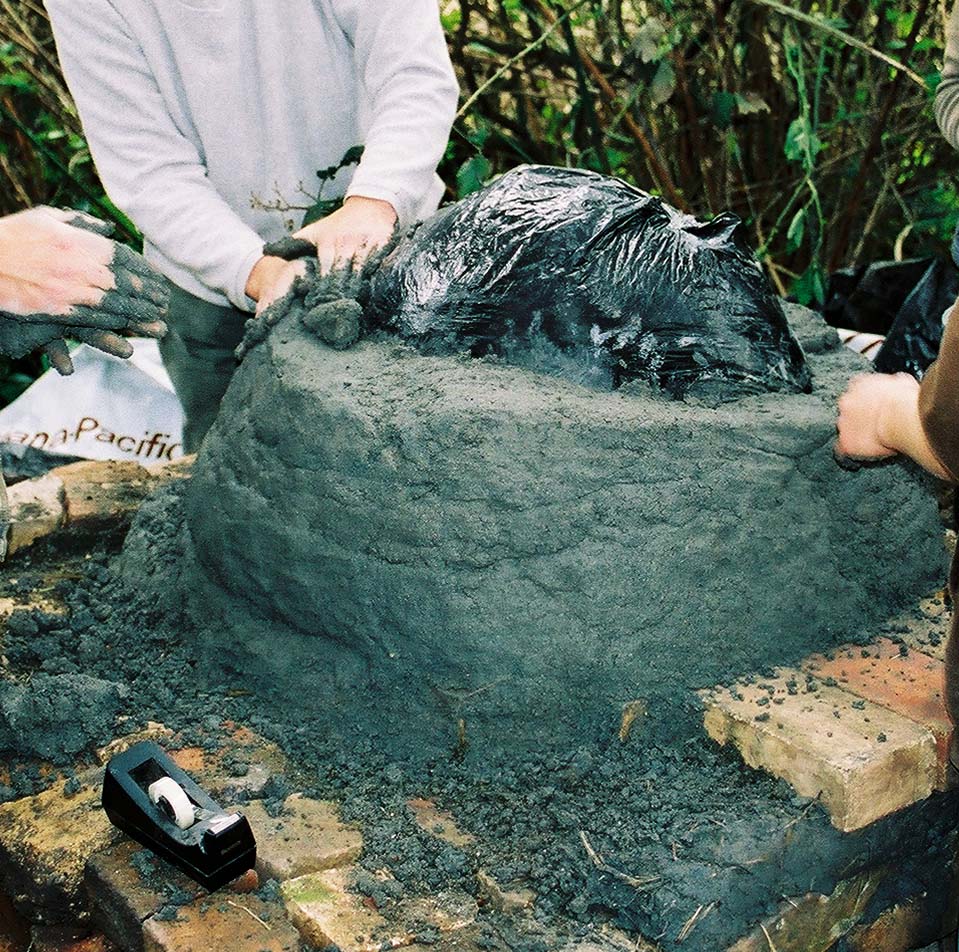
Applying the dense layer.
4) The Doorway:
The door height in earthen ovens is important, it is proportional to the interior height of the oven. The door height should be roughly 63% of the interior height of the oven. This is to maintain the thermal characteristics of the oven to help it better heat up and hold that heat. Our oven was 16 and 1/4 inches tall, so our door height was roughly 10 and 3/4 inches tall. This doorway is just cut through the dense layer material with a knife like object. This opening allows the sand mold to be removed. The making of the dense layer, cutting the door, and the removal of the sand mold all happened on the same day. After the door was cut we used cob loaves that were a 1:1:1 clay/sand/straw ratio. These loaves were then corbelled to form the entry way to the oven.

This figure shows the door height to interior height.
5) Insulative Layer:
For this layer we made a mix of straw and clay slip. It is mixed with one flake of straw at a time. The clay slip is fluffed into the straw until a handful can be compacted and it holds itself together when pinched by a small amount and shaken lightly. We then applied this layer about 6 inches thick all the way around the oven. We used this step as a stopping point for the day when we built our oven, so it was neccesary to add more clay slip to the slip-straw layer before applying the outer layer.

The straw slip layer prepared and waiting to be applied.
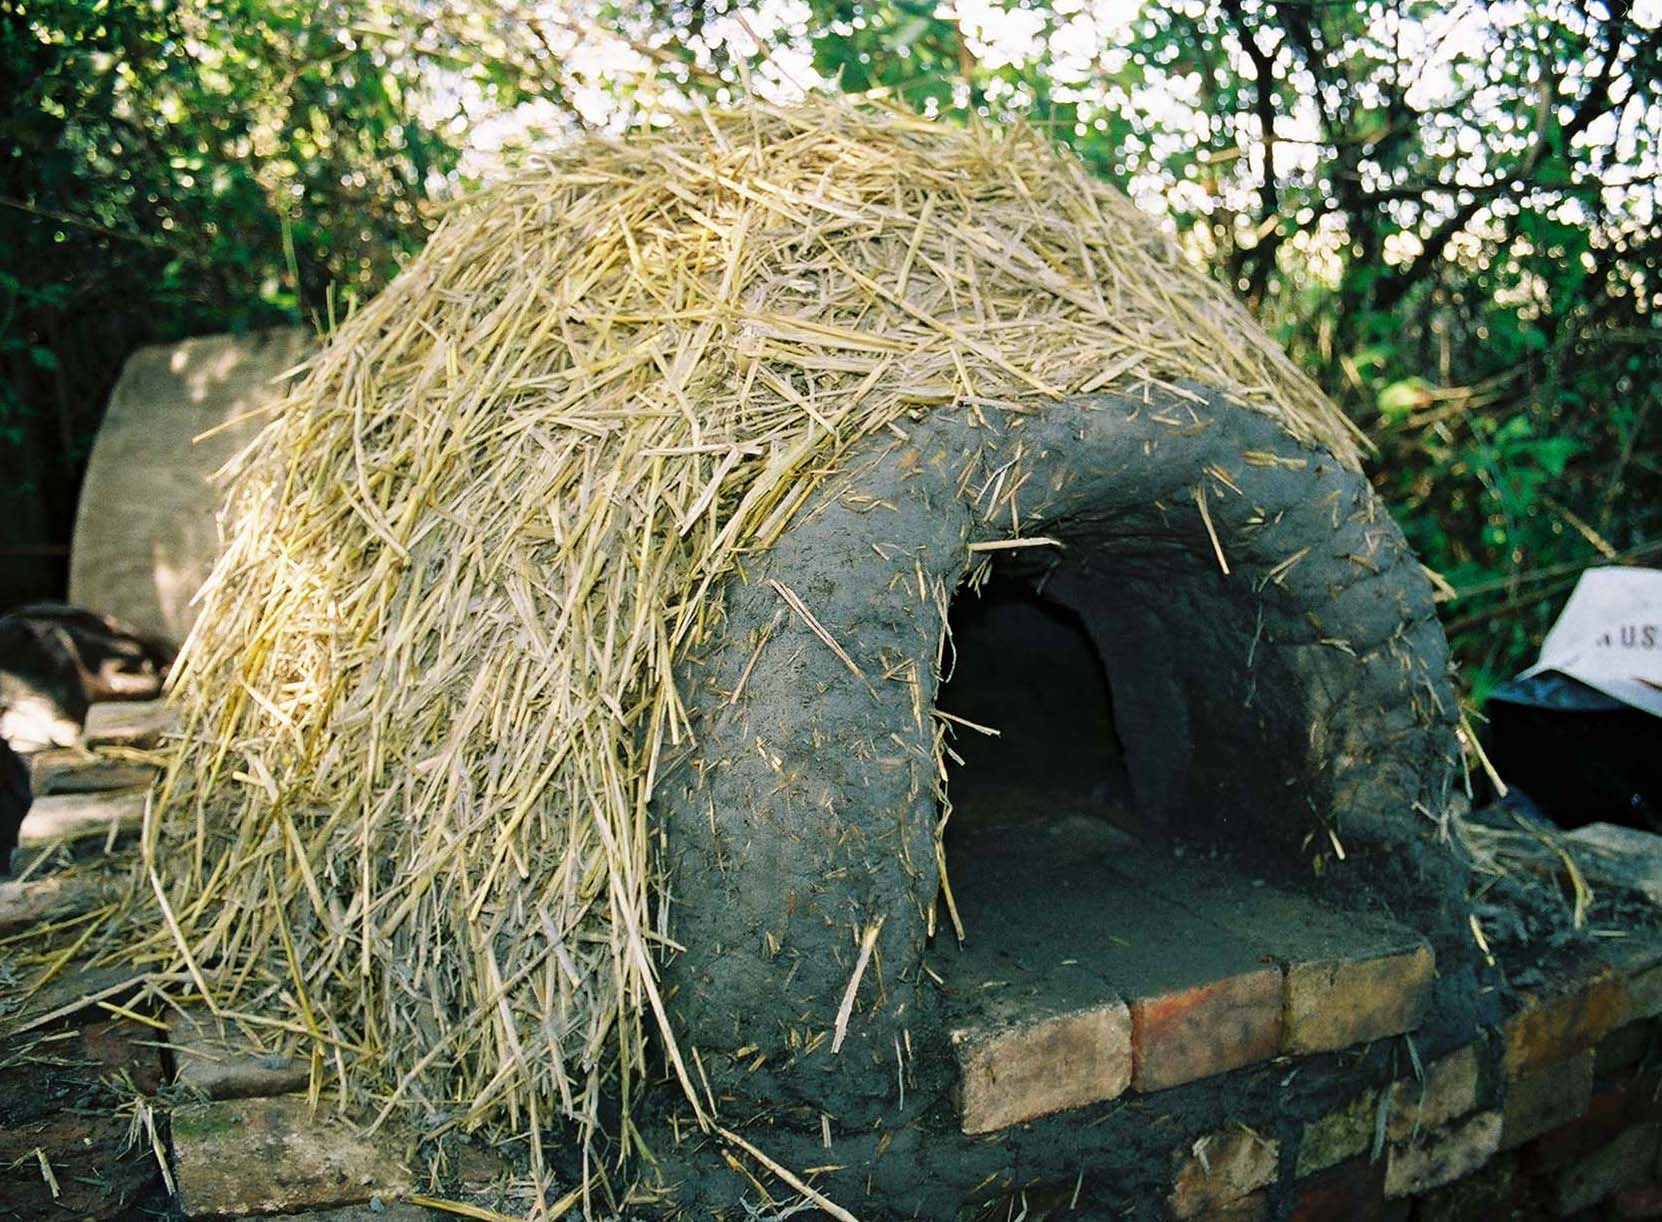
The insulative layer applied and waitng for next layer. Note the corbelled entry into the oven.
7) First Outer Layer:
For this layer we used a 1:1:1 clay/sand/straw mix ratio. To get the straw into small enough pieces we utilized a weed-whacker to chop it up. To apply this layer we just kind of pushed it onto the insulative layer in a thin fashion. Once this layer was applied we began to do the final sculpting for our ox. The sculpting was done using the same material but just making it thicker in certain spots to add the contour and shape. Just remember that it is difficult to get any sculpting to rise off of the oven(notice the horns of our ox are laying down), so whatever your design it cannot extend out from the surface too much or it will fail.

Covering the insulative layer with the first of the outer layers.

Rough sculpting begins after the first of the outer layers is applied. Note the sculpting of the horns.
8) Final Plaster Layer:
This layer is the outermost layer of our oven. For this layer we used superfine materials. We used both sand and straw that had been sifted through screens to isolate the finest particles. This was done so the final outer plaster would apply very smoothly and not have too rough of a surface. Our mix for the plaster was a 1:2:1:1 ratio of clay/sand/straw/hydrated lime sawdust. The hydrated lime sawdust was an experiment and was included because it helped reduce the weight of the final coat and adding the lime will help ward off rot problems associated with organic materials in the mixes.
9) Firing the oven:
Before building a large fire to cook in your oven, it is a wise idea to start several small fires in your oven over the course of a few days. This is a good idea to do especially if you live in a moist area, such as Humboldt County. These small fires will help facilitate the removal of moisture from the interior of the oven. I built three small fires in our oven to help get the moisture out before firing it to cook with. Our oven did experience some cracking in the dense layer. The fix for cracks is to patch it up with material that is the same mix as which ever layer cracked. So, for our oven I used a 2:1 sand/clay ratio mix to patch it up, and it has lasted well through at least two hot firings.
10) Enjoy your Oven!
