
Building With Ferrocement
Testing: To determine the best ratio of sand to cement I conducted a test of 3 mixtures. The recommended ratio I found in my research was 3 parts sand to one part cement. I tested 3 parts sand to 1 part cement, 2.5 parts sand to one part cement and 3.5 parts sand to one part cement.


Tari was a big help mixing the ferrocement for the tests. The strip on the right is 3 parts sand 1 part cement, the strip in the middle is 2.5 parts sand and 1 part cement, and the strip on the left is 3.5 parts sand and 1 part cement.
Three weeks later, when the tests were dry, I discovered that the experts were indeed correct. The mixture containing 3 parts sand and one part cement seemed sturdiest and most waterproof.
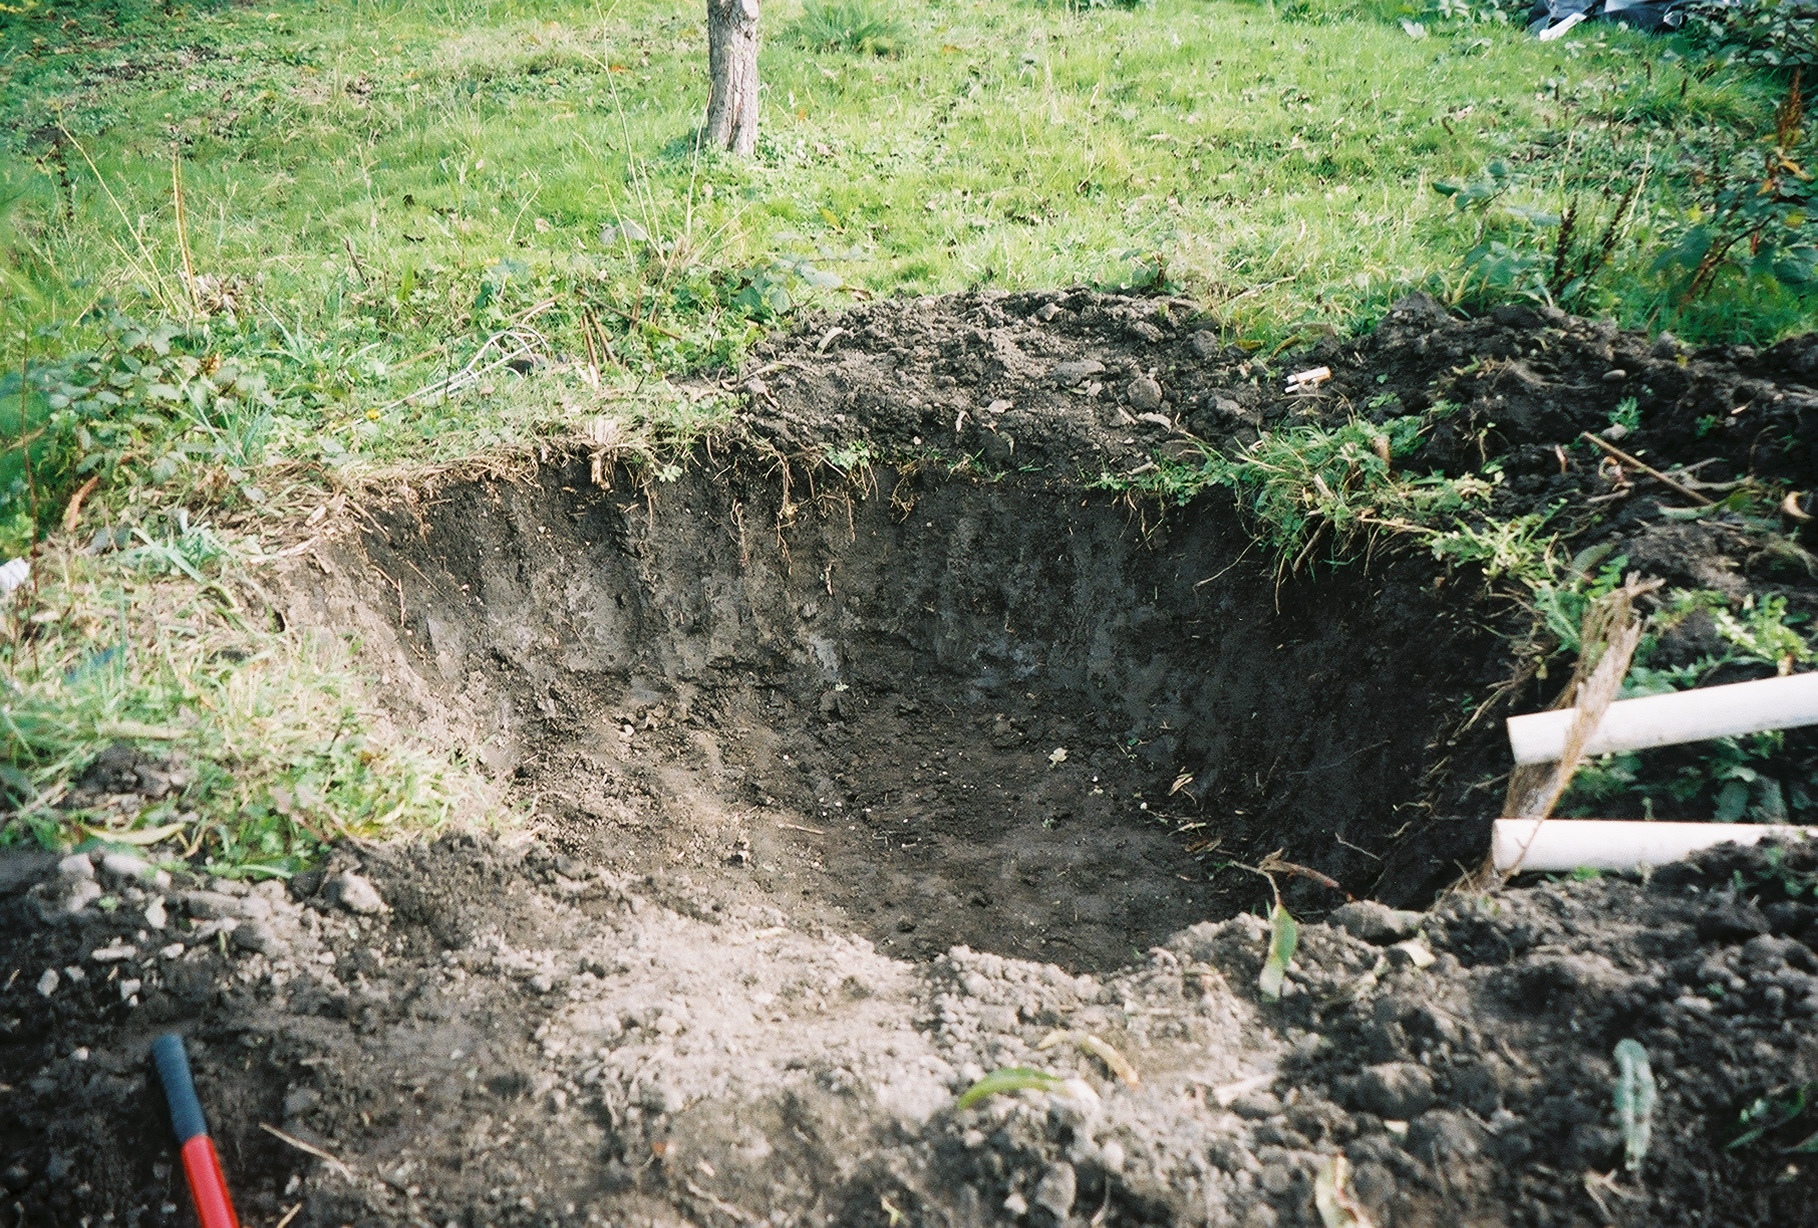
The Hole: After the first good rain of the season the soil was soft enough to begin digging and eventually an organically shaped ovular hole which would hold about 300 gallons took shape.


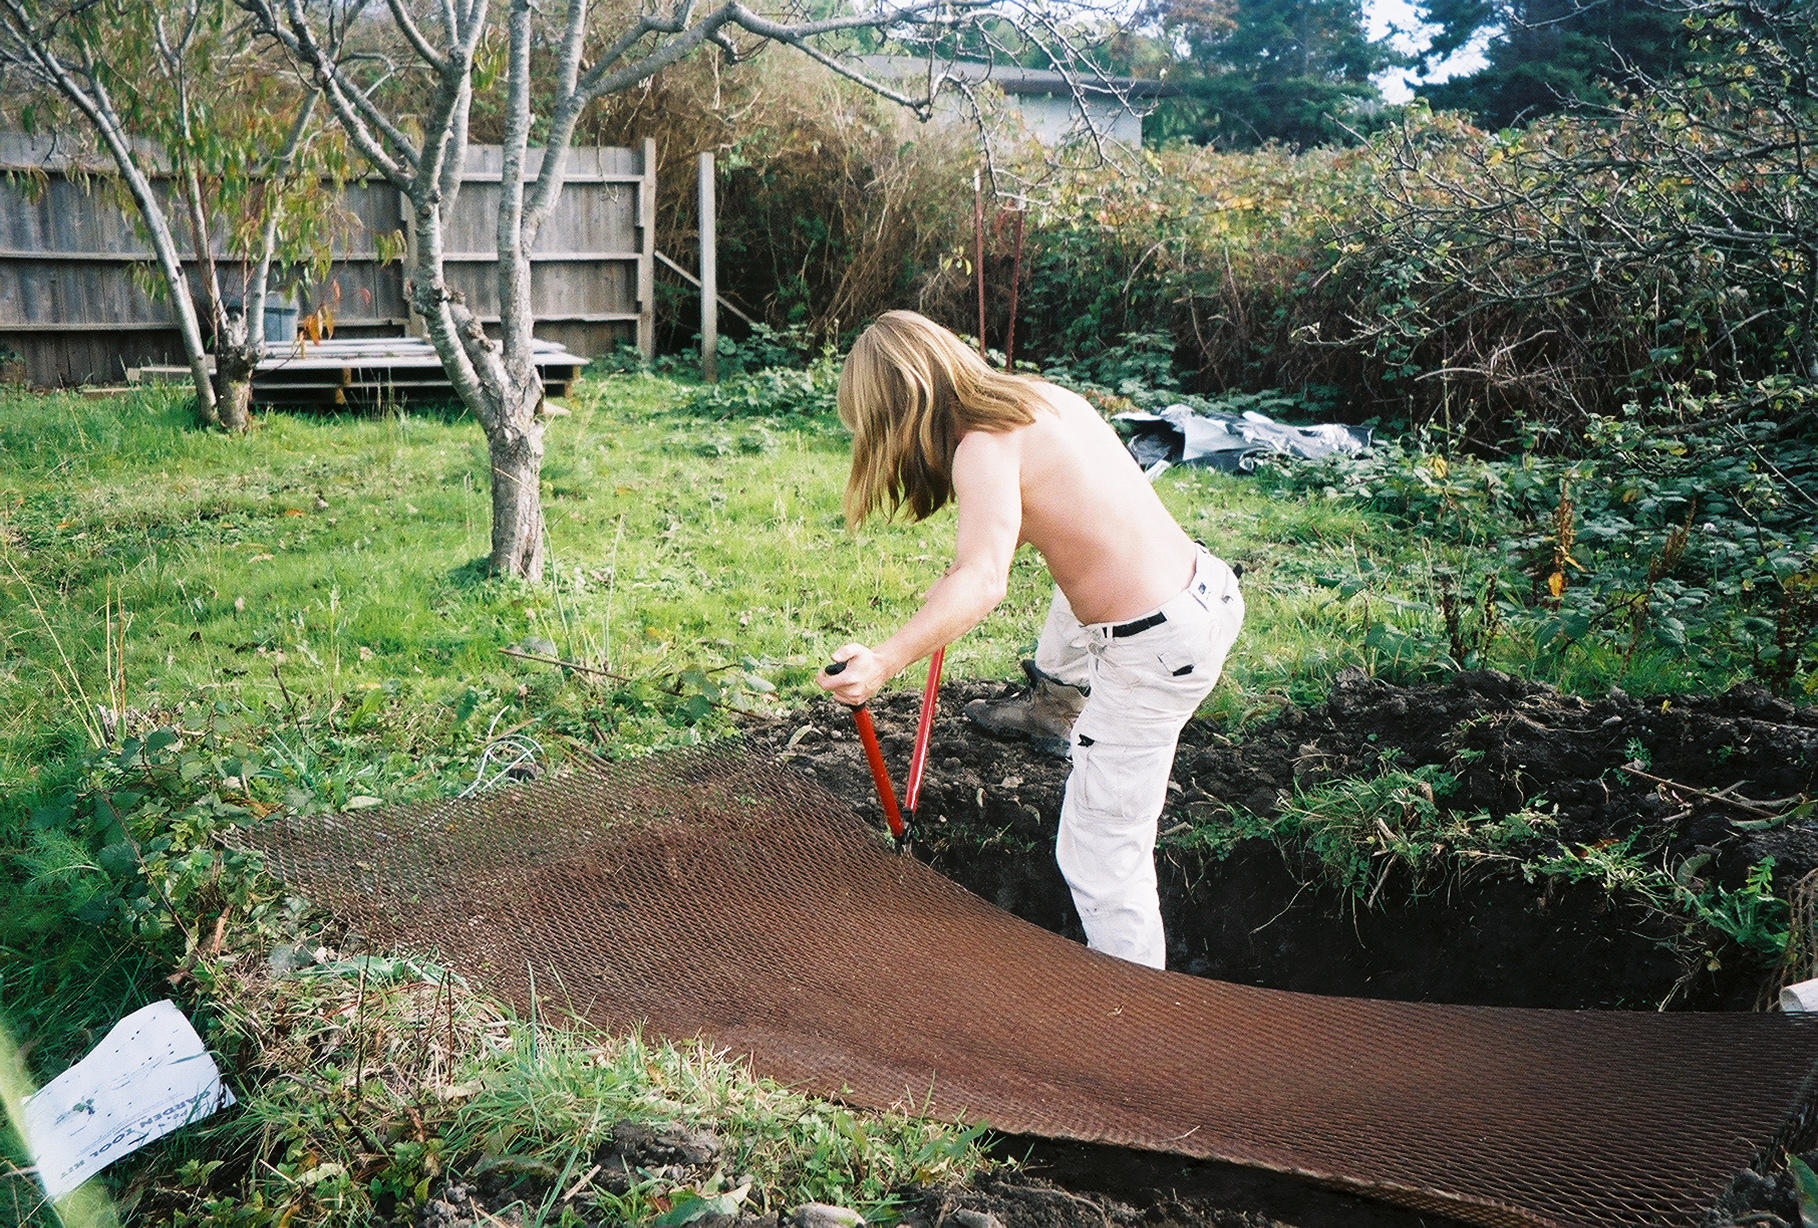
The Frame: The frame was built with a base layer of heavy welded wire that was salvaged. It was thick enough to hold it's shape, so I was able to avoid using much rebar. The wire mesh was cut using bolt cutters to fit the bottom and sides of the hole, and was connected with bailing wire


1/2 inch thick pieces of rebar spaced about 1 foot apart were then connected to the wire mesh using bailing wire. I second layer of wire mesh which was a much thinner gauge wire with larger spaces was cut and attached it the inside of the frame with a flap about one foot long wrapped over the top. A final layer of chicken wire was then attached.

The inflow and over flow pipes were originally intended to come in through a separate piece of welded wire with appropriate holes cut into it, but this turned out to be extremely difficult to attach to the rest of the frame, so the design was amended to have a simple notch for the pipes to lay in. An extra piece of welded wire was added under the pipes for strength.


Mixing and applying: Once the frame was built, I mixed 3/1 batches of sand and cement in a wheelbarrow and added enough water so that the mixture would compress when touched then rise back up. The mortar was then pressed into the frame beginning with the walls. I found that the only way to get the mortar to stay in the walls was to make a small heap at the ease of the wall and push upward toward the top. the frame was filled, then a thin layer was added and smoothed on, after the walls were finished a thin layer was added and smoothed on. When the walls were finished the mortar was pressed into the floor.


The wet container was covered with a plastic sheet to prevent it from drying too quickly and cracking. The drying process takes two to four weeks and usually requires water to be sprayed on the mortar periodically. The pond dried over the course of three weeks and because we had wet weather no added water was necessary.
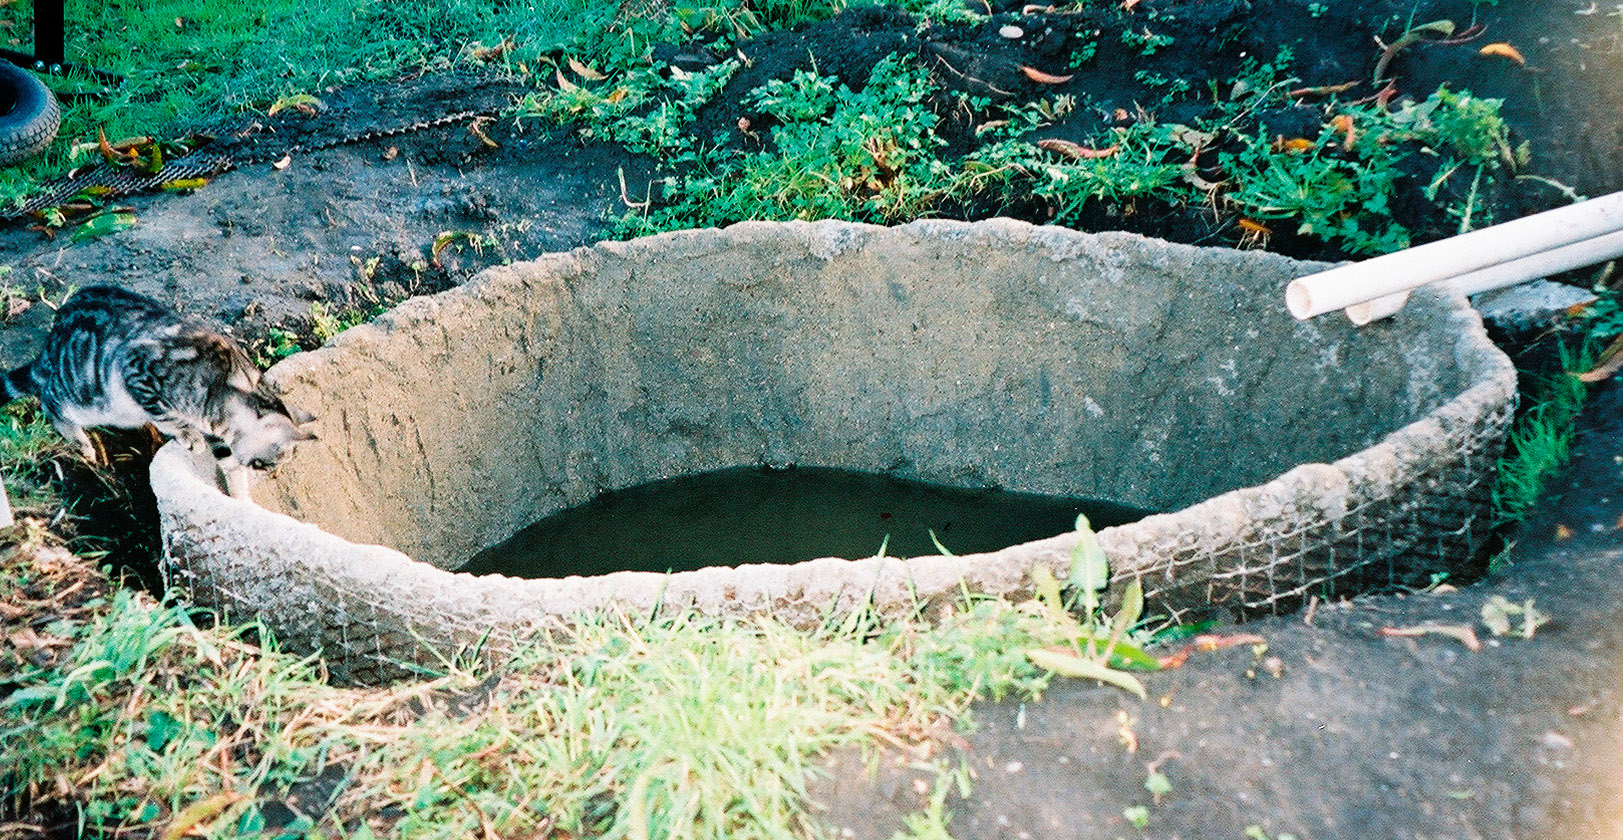
Finally...The moment of truth. The day before an expected rainstorm the final piece of P.V.C. was put in place to connect the catchment area to the pond and the plastic cover was removed. If the curing process was successful it won't be necessary to use a sealant. The next morning...

It was holding water!
Here is a good link for building with Ferrocement.