
Construction Procedure
Content: Making 2 Boxes Join & Insulate Boxes Glass Framing Attach Frame to Box Making & Attaching Reflectors
|
Cut and construct the inner box out of plywood with the following dimensions. (*note: only make a five sided box, leave the top side open.) |
 |
Cut and construct the outer box out of plywood with the following dimensions.(*note: only make a five sided box, leave the top side open.) |
 |
Apply silicon appoxy to all the joints inorder to create an air tight seal. |
 |
Apply two coates of flat black paint to the inside of the smaller box. |
 |
Create a stand so the smaller box will be lifted 2" from the bottom of the larger box. Nail stand to the bottom of the larger box. |
 |
Put insulation (we used woodshavings) in and around the stand. |
 |
Pack the insulation in tight filling the entire bottom 2" of the larger box. |
 |
Center the smaller box within the larger box, there will roughly be a 2" gap on all sides. Nail the smaller box to the stand. |
 |
Insert pieces of cardboard centerd inbetween the larger and smaller boxes. |
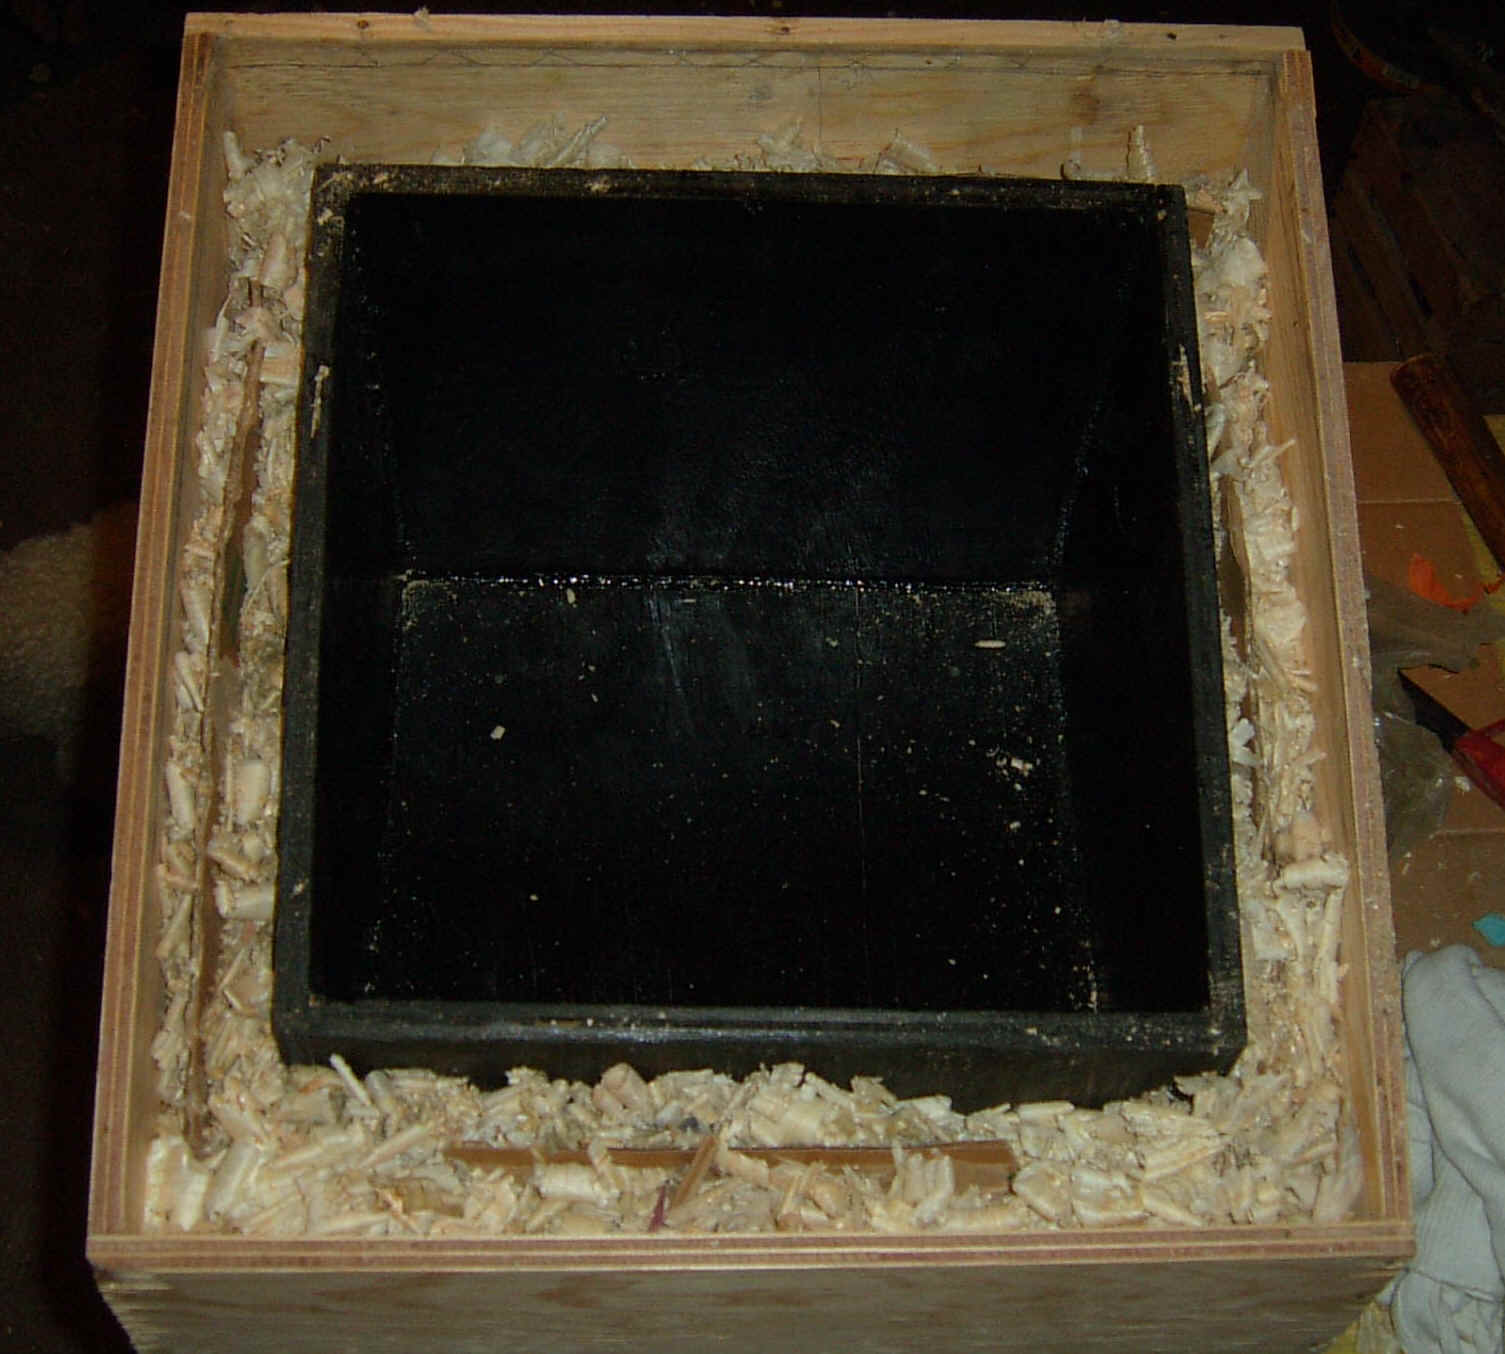 |
Fill all space with woodshavings. |
 |
Because we used all of our wood shavings and still had about 2" to fill with insulation, we used crumpled newspapers to finish filling the space. |
 |
Bird's eye view of the dimensions of solar box cover. |
 |
Nail wood over the gap between the larger and smaller boxes to cover the insulation. |
 |
Silicon appoxy the joint between the covering and the inner box creating an airtight seal. |
 |
Hector with the insulation completely covered and sealed. |
 |
Cut 4 pieces of wood with the dimensions 1"x1"x15". |
 |
Chisel a straight groove in the pieces of the wood at least 1/3" deep and just wide enough for the piece of glass to fit in it. |
 |
Use sandpaper to make the chiseled groove smooth. |
 |
The wood should fit the glass snug. |
 |
Cut a 45° angle off the end of each of the 4 pieces of wood. |
 |
Allign pieces of wood around the glass making sure all fit well. |
 |
Apply wood-glue to the joints. |
 |
Carefully nail the frame together making sure the glass doesn´t get hit. |
 |
Because there was gaps in the joints, we wrapped string around the edges multiple times, inserted some sticks within the strings and twisted them. When the strings tighten the joints came together. |
 |
Set the frame aside to allow the glue to dry. After several hours take the sticks out and unwrap the string from the frame. |
 |
Align framed glass over inner box. Using two hinges join the two pieces together on the high side of the box. |
 |
Create an air tight seal between the box and the framed glass lid by using gasket silicon. Apply a raised bead border around the inner box. Let dry. |
 |
Press lid down as far as possible and measure the distance from the insulation covering to the top of the frame in two locations (lower right and lower left corners of the frame). Cut two small wood blocks 1" wide and the same height as the measurements. Attach small wood blocks to insulation covering with long screws flush against the lower right and lower left corners of the frame. Attach latches to both the frame and small blocks. |
 |
This ensures a tight seal between the cooking area and framed glass lid. |
 |
Using tin snips cut 6 aluminum (tall-boys) cans lengthwise after cutting off the top and bottom. |
 |
Cut two 8"x12.5" pieces of plywood. Nail the aluminum cans (reflective side up) to the plywood. |
 |
Attach 2 hinges backwards (so they won´t lay flat) to each of the back of the reflectors and the left and right sides of the frame. Using the hinges backwards allows the reflectors to set at the optimal angle to obtain maximum radiation penetrating through the glass. |
 |
A completed project with reflectors intact allows for additional radiation gain and is ready for solar cooking. |