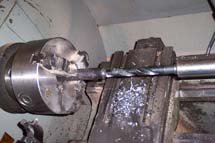
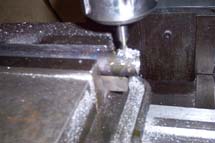
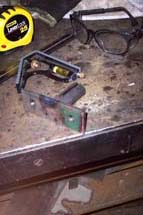
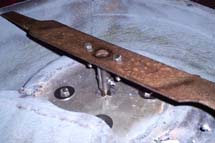
Unfortunately, when removing the old blade from the old mower I was unable to salvage the piece that attacked the engine shaft to the mower blade. This meant that it was necessary to fabricate my own blade mount. I found a piece of metal rod about 3/4" in diameter in the scrap pile in the HSU metals lab. I bored a hole into the rod at about 3/8" in diameter (the motor shaft diameter). This would allow the rod to slide over the motor shaft. Next the rod needed a key way milled to allow a key to be inserted. The key connects the rod to the shaft and keeps the rod from slipping while the shaft is rotating. Then I cut the rod to length and welded it to an 1/8" thick metal plate that the mower blade will be bolted too.
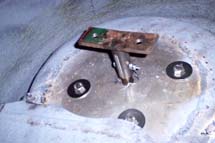
After the blade mount was finished being fabricated I inserted it on to the shaft. Then to make sure the mount was supported vertically I drilled a small hole completely through the mount and shaft. This allowed me to insert a bolt as an added safety measure.
When the blade mount was securely mounted I bolted the mower blade to it using two 3/8" nuts and bolts with washers.
All in all the fabrication of the blade mount went well. The parts were free (except the nuts and bolts) so the only true cost was the labor and it seems to be doing its job well. The only thing I would change is the lengh of bolts I used. I used about a 1-1/2" bolt for both the blade and the blade mount. They really only need about a 1/2" bolt.
