The
Making
of a 
![]()

![]()
After all the cob making and construction is done, I have a finished product at which to look, I can sit back and wonder, "if I had the chance to do it all over again what would I do differently?" The first answer that jumps out at me is time. I would definitely have started a little sooner on the project – not only because towards the end, the rain became an inhibiting factor, but also because it is very nerve-wracking trying to get things done at the last minute.
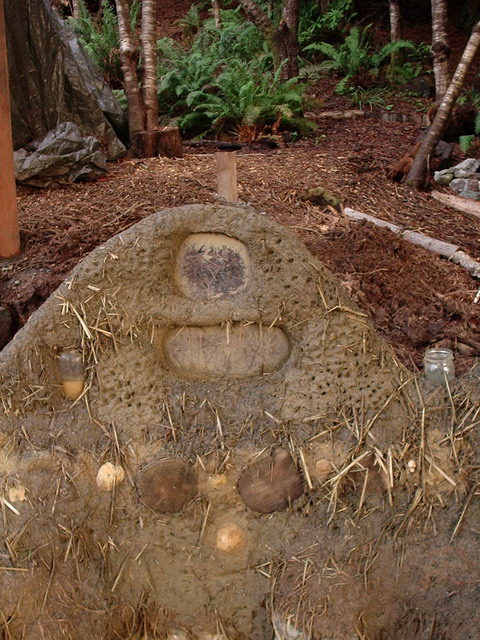
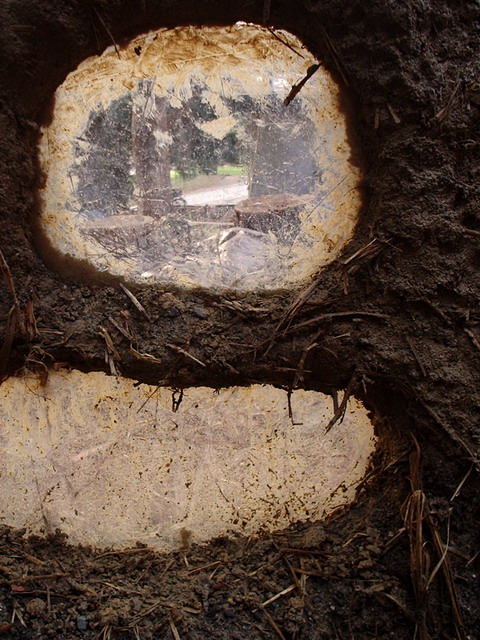
I would also, perhaps, have chosen a different design for the middle part of the bench. The middle part of the bench is very high with two pieces of plexi-glass in it. See pictures below. While I think that the idea of having the windows is great and adds creativity and interest to the bench, I don't think I'm qualified or skilled enough to build such a tricky structure. I feel the middle part of the bench is not structurally sound because the plexi-glass is very thin and the weight of the cob on top of it might not be supported sufficiently. Also, during construction, I wasn't able to really work in the layers with regards the to the middle. As such, the middle part is a little flimsy and might not be able to withstand a lot of pressure. However, the windows were one of the desired elements of the cob bench, so I did my best. This was a learning experience for me and if something horrible happens and the middle part breaks, it will give other students a chance to work with cob and also get hands-on experience.
The last thing that I would do differently would be to advertise for more help. I would have taken advantage more of the Friday work days at CCAT and get more volunteer help. A little extra help would have sped the project on just a little faster.
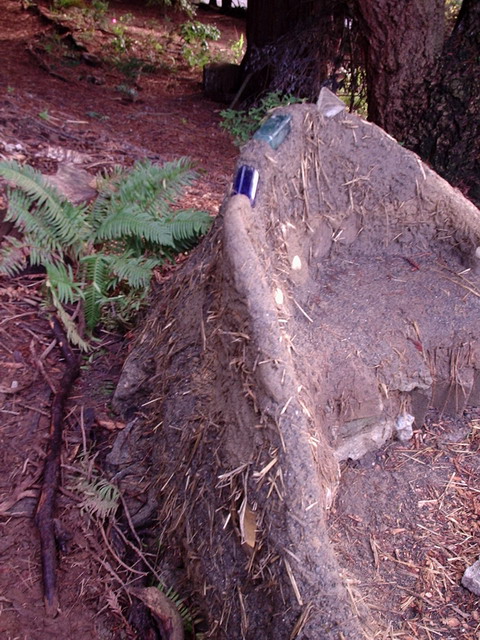
Analysis: All in all, the cob bench seems to have turned out fine. Design element from the initial CCAT concepts were incorporated into the bench. These included cordwood, three aches, one larger middle arch with windows, inlaid glass bottles, and seashells. There is also no significant cracking, and the layers appear to have been well worked into one another. However, a chunk of the older cob that was on top of the concrete foundation chipped off the base of the bench.
Conclusion: The cob bench should hold up until the spring time when a protective plaster can be put over it. Since there are no significant cracks in the cob, this is probably due to a good ratio of sand and clay mixture. The reason for some of the cob to chip off the base of the bench might have been that the since the cob was bridging an empty space between two concrete stones, there was nothing under the cob to support it, and after repeated pressure on it, such as people standing right on the edge, it chipped off. Hopefully the cob layers are well worked into one another thanks to good cobbing techniques like "kneading the cob." In the end, I hope that the bench eventually becomes a great addition to the CCAT grounds, where people can sit back, relax and enjoy not only the bench, but other people's company.


Figure 1. The middle section. Figure 2. Side view

Figure 3. The windows.